
|
|
|||
The Basics of Card Making
Combine Card Making Techniques With Desktop Publishing
|
||||
STEP 1: Choose your theme!
This step begins with whatever the specific event may be. It is also the easiest step. In most cases your party already has a theme. So of course this is the same theme you will go with for your invitation theme.
Step 2: Choose your paper!
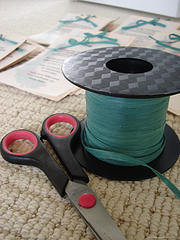
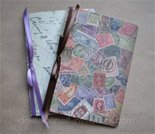
So many papers to choose from! Cardstock, cotton stationery, decorative papers. My personal favorite for card making is paper crafting or scrapbooking paper. Choosing paper can be a daunting and difficult task. My advice? Shop around. Buy just 1 piece of the papers that you like the best, and then play around with them until you find what works for you.
STEP 3: Writing the wording!
This one doesn't always come easy. Especially for a wedding invitation! Check out my section on invitation wording to help get you started. You can use my wording exactly as it is, or mix and match to create exactly what you are looking for! When writing the wording for your invitations just remember to make sure it is coming from the heart. Don't forget to include the most important details, like the date, time, and location, of course!
STEP 4: Getting the words on the paper!
For me this is a very important step to card making. I much prefer the crisp look of printed words to my own messy handwriting. There are many ways to go about this step of the process. You can choose to use your computer and simply print the wording onto your chosen paper (my favorite way), use rubber stamps, or even calligraphy.
- Print your invitations 2 to a page or four to a page to save time and money
- Cut your invitation papers down to size and print straight onto them
- Print onto blank invitations
STEP 5: Choose a card format!
A card making basic step that will shape the entire process. Do you want this card to be the traditional open and close kind of format? What size will it be? Or do you want them to be postcard invitations? Again there are lots of choices to consider here. Card making can be as creative and elaborate, or simple and easy as you want!
Need some hints for your format?
* 2-up invitations format
* postcard invitations or (4-up)
* Make invitations using blank cards
STEP 6: The Finishing Touches!
Finishing Touches could be anywhere from taking a trip to your local copy shop for copying and cutting, adding your final embellishments and creativity, to merely slapping a stamp on it and in the mail it goes!
* Cutting and folding your invitations
* Which types of glue to use?
* Using paper punches * Making invitations with ribbon * Using scrapbook paper backgrounds * Scrapbooking supplies
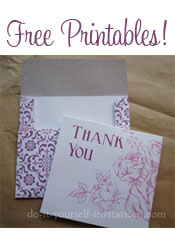
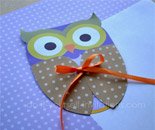
Popular DIY Tutorials


Printable Invitations | Bridal Shower | Blog | Contact | Advertising Policy | Privacy Policy
By Chris Fleckenstein, Copyright © 2006-2013 Do-it-yourself-invitations.com