
|
|
||||||||||||||||||||||
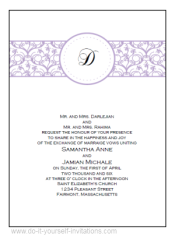
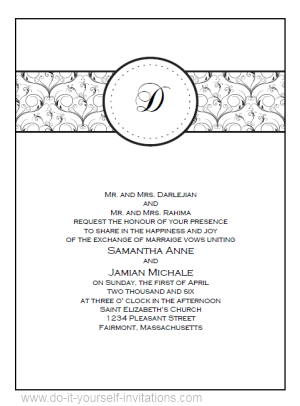
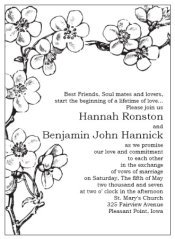
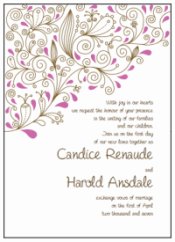
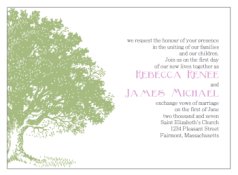
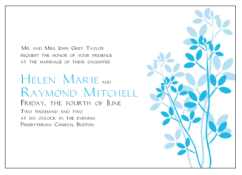
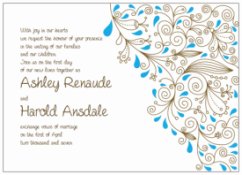
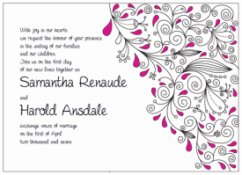
Printable Wedding Invitations
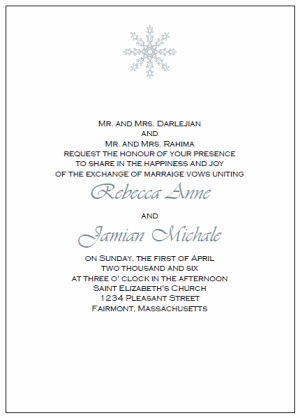
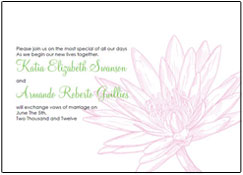
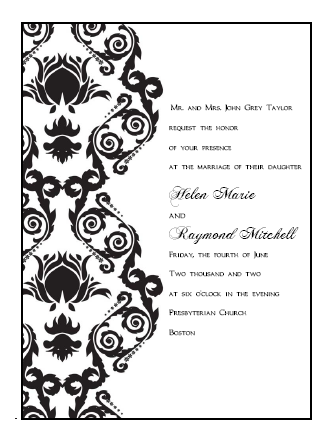
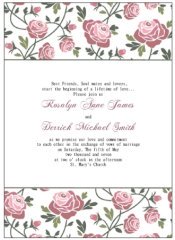
Our printable wedding invitations templates are the perfect inexpensive solution for DIY brides and budget weddings. And what could be more affordable than free? Yup, we've got an ever growing collection of free invitation templates. Always growing, ever changing! |
|||||||||||||||||||||||
 |
 |
 |
 |
 |
 |
 |
So, are you looking for something extra special? We'd love to hear your suggestions and ideas! We will be adding new templates on a constant basis. You never know, we may just decide to pick your idea and run with it!
All of our invitations are interactive PDF templates. This means that you can customize and personalize all of the text and wording on your templates. Change the fonts, sizes, font colors and more. For more info on how to use our printable wedding invitations templates visit our Printables FAQ section.
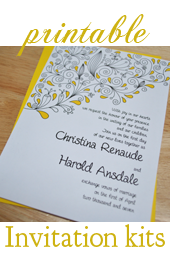
Invitations and Stationery Kits
 |
 |
 |
 |
 |
 |
 |
 |
 |
 |
 |
 |
To See more available Invitation and stationery kits plyufease visit our Wedding Invitation Templates Page.
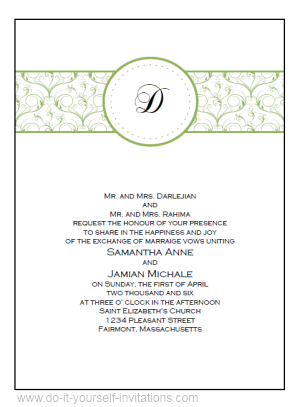
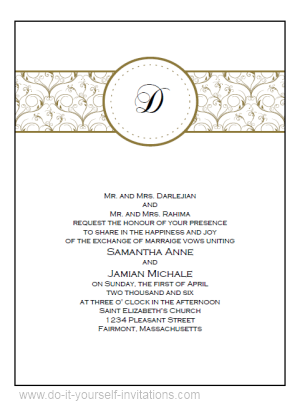
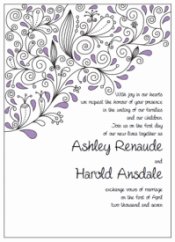
Many of our invitations kits are available in multiple colors. We even offer custom coloring if you have something special in mind. Contact us for more information on purchasing a custom color template or kit.
Looking For Save The Dates, response cards, place cards? We've got templates for all of those, and more, with options to purchase a full kit or only the pieces you choose.
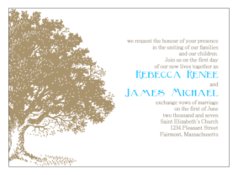
Free Blank Wedding Invitation Templates
Our Blank Templates are perfect for the crafty bride! These templates make it easy for you to print your text and wording, and include cutting guides. Use them to print your stationery pieces mutiple per page.Print the templates onto heavy cardstock and trim them to size using our handy cutting guidelines. Then go to town with rubber stamps, stickers, and ribbon!

Do It Yourself Invitations Homepage > Make Your Own Wedding Invitations > Printable Wedding Invitations


The DIYI Ezine
Printable Invitations | Bridal Shower | Blog | Contact | Advertising Policy | Privacy Policy
By Chris Fleckenstein, Copyright © 2006-2013 Do-it-yourself-invitations.com