|
Make Your Own Winter Wedding Invitations
How to Make Elegant Handmade Gatefold Winter Wedding Invitations
Looking for a DIY wedding invitation idea that is elegant but on the less complicated side when it comes to assembly? Well you have fond it. I made these gatefold invitations for a winter themed wedding, but it is easy as pie to replicate the same exact look for a completely different theme or wedding colors. The main ingredients are simply cardstock, scrapbook (decorative) paper, and ribbon. I like to use cardstock that is textured to give the invitations a more rich feel to them.
These gatefold (trifold) cards were created completely by hand. The papers that were attached to the inside were also cut by hand, If you are making hundreds of invitations then this is extremely time and labor intensive. I highly recommend gathering all of your materials beforehend and having the papers cut to size for you. Visit a local copy or print shop and utilize their paper cutting services. This one very simple and AFFORDABLE service will eliminate a hUGE pain in the butt!
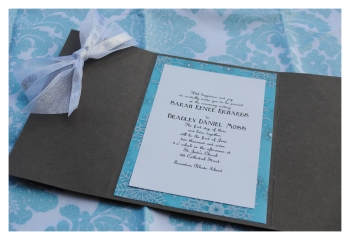 Supplies used to make these winter wedding invitations:
Bazzil Basics texured cardstock
scrapbook paper
plain white cardstock
ribbon
permanent adhesive runner
bone folder
Step One: Start by creating your DIY gatefold invites to envelope the winter wedding invitations. Your invitation wording (and decorative paper will be attached to the inside of this base piece of the suite. You can also choose to include a loose RSVP card, enclosure card, invitation map, and more.
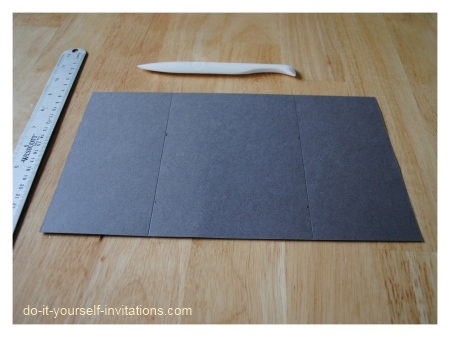
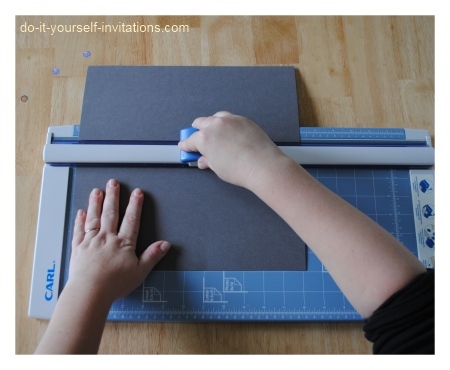
Start by cutting some cardstock to teh correct size. The dimensions I used were 12" long by 7" height. After folding to a gatefold the invitation will be a standard 5" by 7".
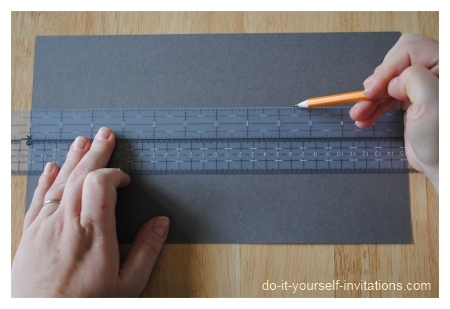
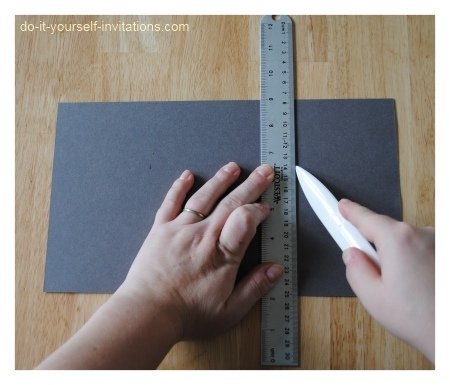
Step Two: Use a centering ruler to mark off where you will be scoring and folding the paper to fold inward to create a gatefold/tri-fold invitation. Since the invitations will be 5" by 7" when folding, keep this measuremnt in mind. I made a small mark at about 2.5" from the center on either side. Mark towrds the edges at both the top and the bottom of the page to make sure the lines are straight.
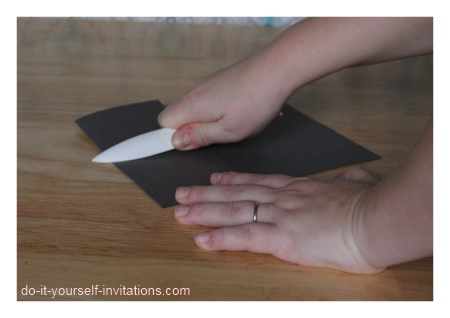
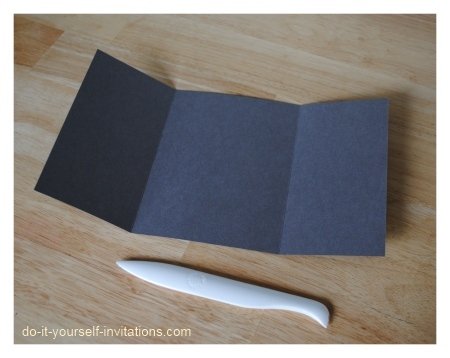
Step Three: Use a bone folder and ruler to score (create a crease) the paper where you drew your marks. Make sure and use an eraser to remove the marks after, should they still be visible. After you score the paper fold along each crease. Smooth over the fold from teh outside of the paper using the edge of the bone folder, as well.
Step Four: You should have cut some decorative paper to size as well to fit within the gatefold. You can either cut this by hand, or use teh services of a local copy or print shop. I highly recommend the latter. I cut my decorative scrapbook paper to 6.75" by 4.75".
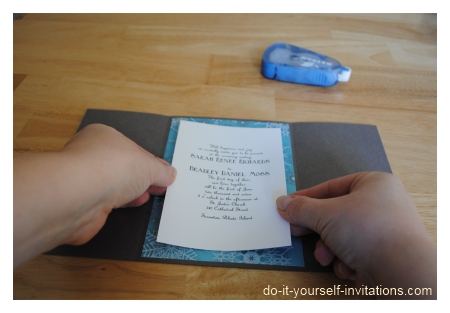
Using a permanent adhesive glue runner (or the adhesive of your choice - glue runners are my personal fave) apply some glue to the back of the paper and attach it to the inside of the gatefold. Center the paper as best you can.
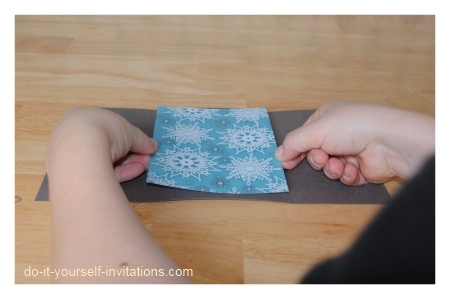
Step Five: You will also need to print the wording for your invitations to mount into the inside of the invitation as well. The idea is to layer a slightly smaller piece of paper on top of the decorative paper.
A nice touch is to also use colored ink within the text to match the deocrative paper. This really adds a nice contrast. Don't be afraid to be bold and unique with the fonts you use either. You can really get fun with a nice winter themed invitation. Try browsing through Dafont.com for some freebie fonts to download. You can purchase some really neat fonts from Fontdiner.com or even check out Myfonts.com.
When rpinting the wording for the inside of teh invitation, you have a couple of ways you could go about it. The paper will eventually need to be cut to size. You could:
cut the paper to size and then print straight onto it.
print the wodring two to a page using our free text templates.
Print two to a page using our templates and have them copied and cut for you at a local print or copy shop!
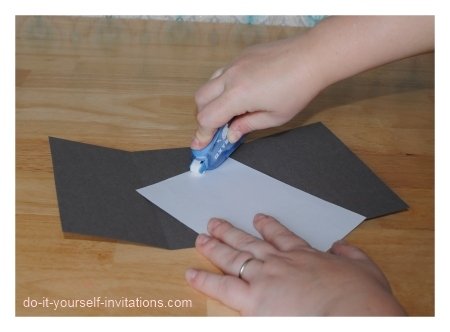
Print the wording onto some nice white cardstock or even premium cotton or linen paper, and cut it down to size. I cut my paper to 3 7/8" by 5 7/8". Apply some glue to the back using a glue runner, and attach it to the inside of the card. Center it over the decorative paper as best as you can.
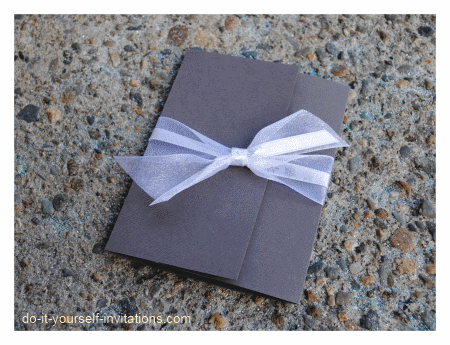
Step Six: For the finishing touches on the winter wedding invitations I simply folded the gatefold shut and tied a combination of ribbon around the outside. I chgose a thick white sheer ribbon paired with a thin festive snowflake adorned ribbon. Both were found at a local arts and crafts store - A.C. Moore. I tied a knot and simply trimmed the ends at an angle to give it a clean finished look.
Brand Specifics:
cardstock - Bazzil Basic Grasscloth cardstock in Dusk
decorative paper - Fiskars/Heidi Grace Frost Blvd Snow Veil
See Also...
Rustic Handmade Paper Winter Wedding Invites
Snowflake Wedding Invitations
Printable Snowflake Wedding Invitations
Free Printable Winter Invitations
Do It Yourself Invitations Homepage > Make Your Own Wedding Invitations > Winter Wedding Gatefold Invitations
|


 Supplies used to make these winter wedding invitations: