|
|
||
|
Create Baby Shower Invitations |
|||
Print your template onto the white paper. Use your personal paper cutter (or bring them to a local copy or print shop) to cut the invites to 5 x 7 inches. The templates include cutting guides so that cutting the invites to size is a snap!
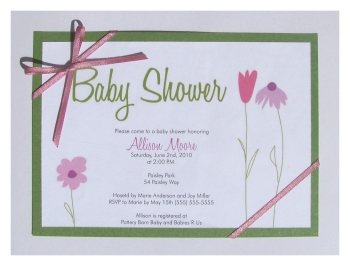
To create baby shower invitations like the snazzy invites above, you will also want to cut your card stock to a slightly larger size. I recommend purchasing a fancy, colored and textured 8 1/2" by 11" card stock. Simply cut it in half andf it is ready to use!
Using an adhesive runner or double sided tape apply strips of glue to the outer edges of the back of the invitations printed from the templates. Very carefully attatch the invites to the cardstock so that the paper is centered between all edges.
Cut a long length of ribbon. Fold it in half to find the exact mid point of the ribbon. Hold the ribbon down on a piece of scrap paper and apply a strip of glue to the rbbon at the mid point. This will help hold it in place when tying it to the invitations.
About an inch and a half from the bottom right hand corner place the ribbon onto the card at an angle. Wrap the ribbon around and criss cross it on the back meeting around the opposite front upper left hand corner. Start to tie the ribbon into a loose knot.
Find where the knot will lay on the card, lift it, and then apply a small strip of glue to hold it down. This helps in creating a nice looking bow, while holding the ribbon firmly in place for you. Tie a nice neat bow. Snip the ends of the ribbon at an angle to give it a nice finished look.
Printable Flower Garden Baby Shower Kit:
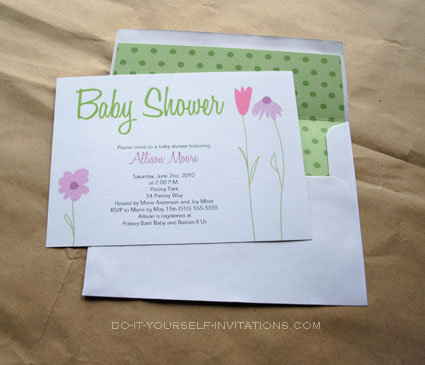
Printable Invitations and Envelope Liner
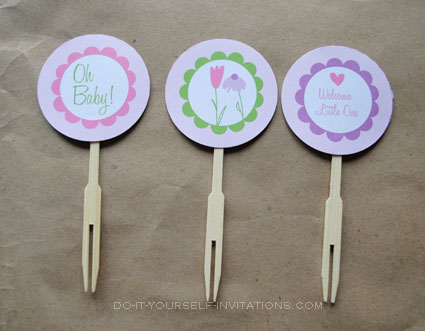
Cupcake Toppers
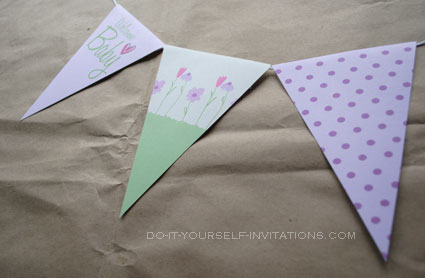
Bunting Banner
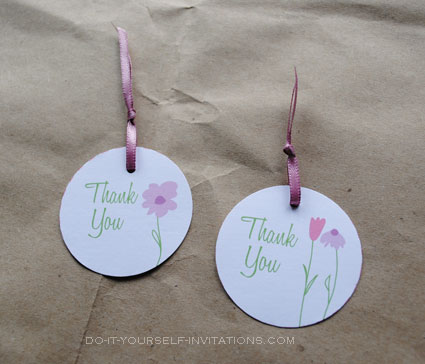
Favor Tags
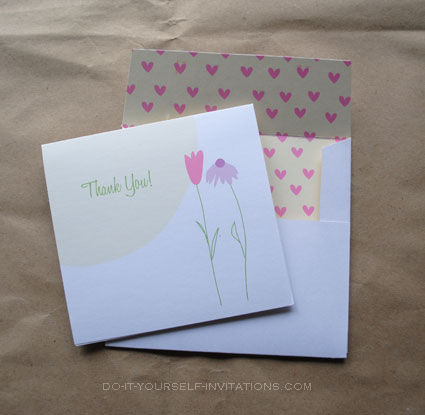
Thank You Card and Envelope Template
Do It Yourself Invitations Homepage > Make Your Own Baby Shower Invitations > Create Baby Shower Invitations From DIY Templates
The DIYI Ezine
Printable Invitations | Bridal Shower | Blog | Contact | Advertising Policy | Privacy Policy
By Chris Fleckenstein, Copyright © 2006-2013 Do-it-yourself-invitations.com
