|
|
|||||||||||
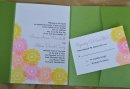
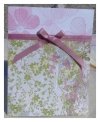
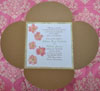
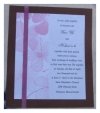
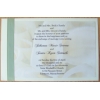
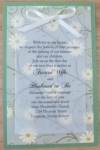
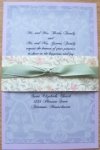
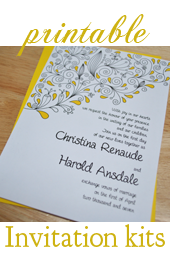
Make Your Own Spring Wedding InvitationsNeed some inspiration for your DIY spring wedding invitations? I want to share my most creative ideas for creating homemade and affordable spring wedding invitations. Check out some of our tutorials and recommended supplies and color palettes.
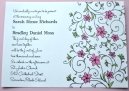
Crafty Tools and Supplies That Inspire MeThese days all one really needs for inspiration is a stroll through the craft store just after they stock all of their spring time merchandise.All the pretty floral and patel papers; the stamps and punches, springtime gallore! Here's some of my number one fave picks for creative spring wedding invitations.
|
The DIYI Ezine
Stay up to date with the newest tutorials, free printables and giveaways!
|
|||||||||||
|
|
||||||||||||
|
| Homepage | Shop | Wedding Invitations | Birthday Invitations | Baby Shower Invitations | Printable Invitations | Bridal Shower | Blog | Contact | Advertising Policy | Privacy Policy
By Chris Fleckenstein, Copyright © 2006-2013 Do-it-yourself-invitations.com |
||||||||||||