|
|
|||
|
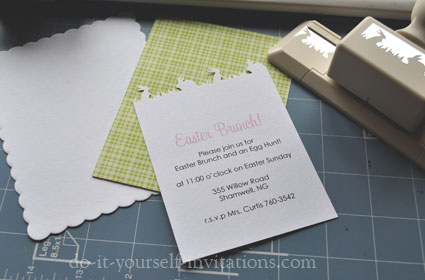
Make Your Own Easter InvitationsThis invite really is pretty simple to make. All you need is some pre-cut scallop border cards from the stationery store (I got mine from Staples), some decorative paper, and a Easter themed border punch. I used a Martha Stewart Border punch I found on clearance.
Materials and Supplies List
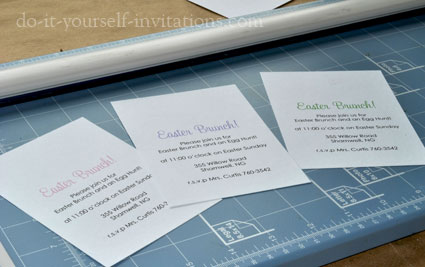
Printing the Wording For The Easter InvitationsI started by typing out the wording for the invites onto some white cardstock. I set the wording up to print four times to a page so that all I had to do was trim out the square pieces of paper after printing. To make this a super easy DIY project I even created a printable template for you to use to print the wording out the same way I did. It even has some handy cutting guidelines to make trimming the paper a cinch. To use the template you will need to have Adobe Reader installed on your computer. The template is an interactive PDF file. Which means you can type in your own wording, change the fonts, colors, etc. To change the text simply highlight the wording you wish to change and press "CONTROL" and the letter"E" at the same time. This will open a tool palette for changing your fonts and alignment and whatnot. Cutting Up PaperAfter printing out the handy dandy wording template, use a personal paper cutter to trim the paper to about 3.5 by 4.75 inches. Using our cutting guidelines that is exactly the size the paper will end up at. 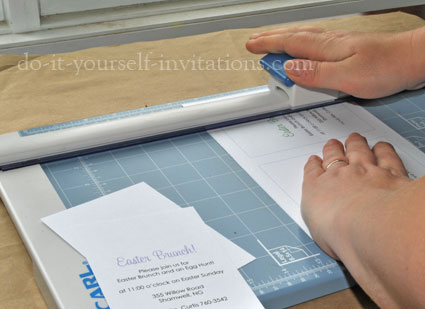
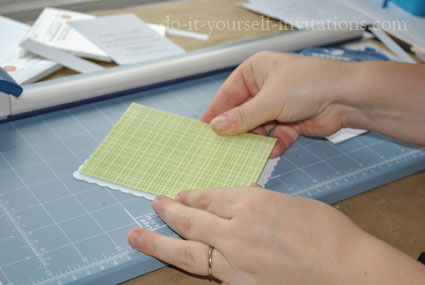
You will also need to cut some decorative or scrapbooking paper of your choice to a size that is just a bit smaller then your A2 scallop cards. I cut mine to about 3 7/8" by 5 1/8". 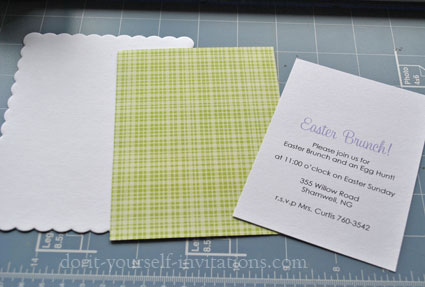
After trimming all of the paper it is time to add a decorative festive Easter border to the top of the printed paper pieces! You could choose to use a Easter themed punch, or even something purely decorative like a lacy border punch. 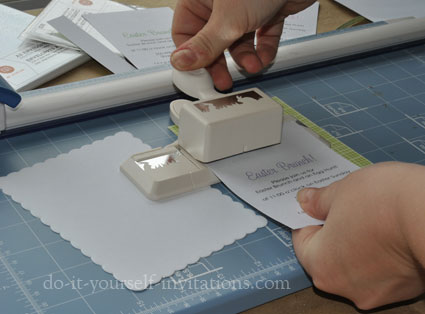
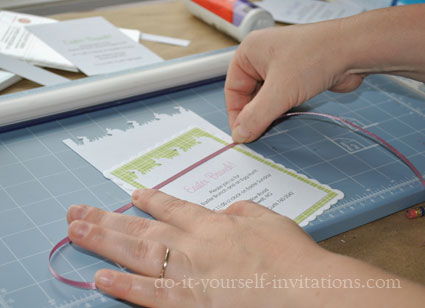
I used a Martha Stewart Edge punch called bunnies in grass. There is also another Martha punch that has little baby chicks that is also super cute if you can get your hands on it. Adding the decorative border is easy. But I do recommend doing a test run on some scrap paper to get the feel of punching a continuos border. Piecing It All TogetherNow just assemble all of the pieces togetehr! Start by using an adhesive of your choice to attach the decorative paper to the scallop cards. I really like permanent adhesive glue runner, but double sided tape works very well also. 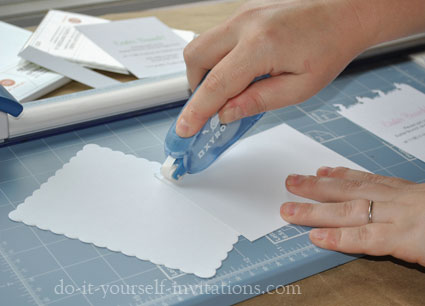
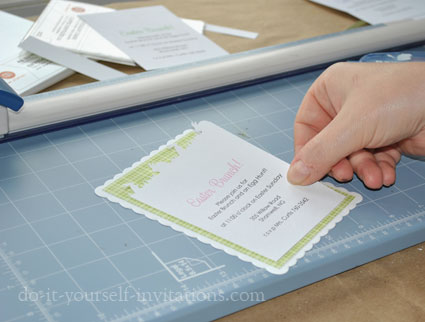
Attach the printed paper in the same manner, centering all of the papers as best as you possible can. Finishing TouchesTo finish the Easter invitations I added some ribbon and a bow. First I layed down some scrap paper and layed the ribbon across it. I applied some craft glue to the back of the ribbon and layed it across the front of the card. 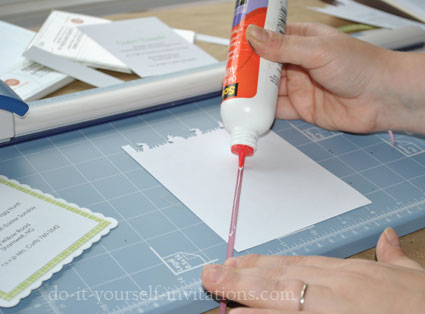
I also wrapped the ribbhon around to the back and glued it in place. I then tied a small bow by hand and trimmed the ends of the riboon to match. Using the same craft glue I glued the bow down onto the ribbon in the center of the invitation. 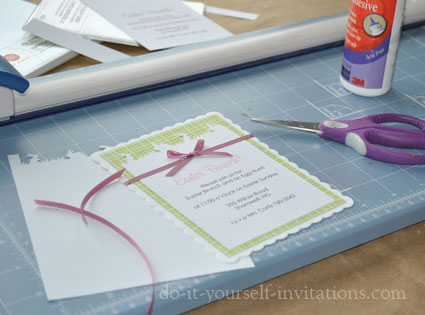
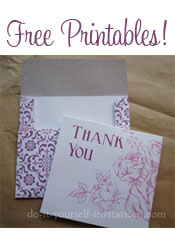
Lastly I created a DIY envelope liner with some coordinating decorative paper and glued it to the inside of teh envelope. Creating a DIY envelope liner is pretty easy. I simply laied the paper face down on top of the envelope and marked where to trim the paper. I then cut the paper to size and simply slipped it into the envelope! 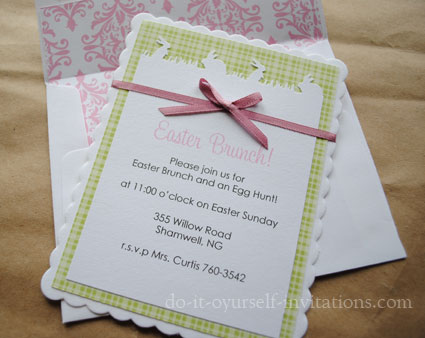
|
You May Also Like...
Popular DIY Tutorials |
|||
|
|
||||
|
| Homepage | Shop | Wedding Invitations | Birthday Invitations | Baby Shower Invitations | Printable Invitations | Bridal Shower | Blog | Contact | Advertising Policy | Privacy Policy
By Chris Fleckenstein, Copyright © 2006-2013 Do-it-yourself-invitations.com |
||||