
|
|
|||
|
Print and Make Your Own Cookout Invitations
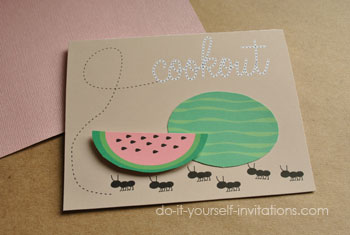
I created this invite so I could invite my guests in style! Sure you could just make a phone call, or send an email. But I really like to put a bit of time and effort into our little backyard get togethers. Why not go that little tiny extra mile? And I made it SO easy to do with these printable cookout invitation templates!
That is the fun part about this template! The front is blank so you can attach any kind of food you want! Use my watermelon printables, or hit the craft store and cruise through the sticker aisle. There are some pretty fancy embellishments ready made and just begging for a project just like this one. If you're good with paper crafts you can easily create your own with some regular old construction paper, some scissors and some glue.
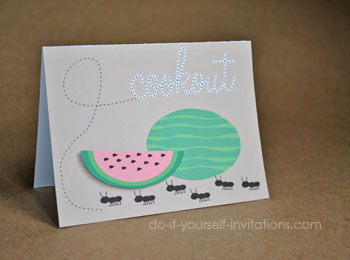
How To Use The Printable Invitation TemplateUsing this template is pretty darn simple!1. Download the printable cookout invitations template file. 2. Print the file onto some heavy cardstock.
4. Fold the card in half from top to bottom. 5. Use a pair of scissors to trim the watermelon embellishments from the paper. 6. Stick the watermelon shapes to the front of the card.
|
The DIYI Ezine
Stay up to date with the newest tutorials, free printables and giveaways!
See Also...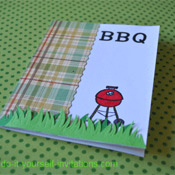
|
|||
|
|
||||
|
| Homepage | Shop | Wedding Invitations | Birthday Invitations | Baby Shower Invitations | Printable Invitations | Bridal Shower | Blog | Contact | Advertising Policy | Privacy Policy
By Chris Fleckenstein, Copyright © 2006-2013 Do-it-yourself-invitations.com |
||||
 Need some fast and fun barbecue cookout invitations? At the Hatch Homestead one of our most fondly anticipated summer activities is the backyard barbecue! I just love all of the food, friends, and family! The backyard barbecue cookout is a perfect excuse for a casual and fun party that doesn't cost and arm and a leg!
 3. Use a paper trimmer to trim a 1/4 inch off of the edges of the paper and then cut the paper in half.


