
|
|
|||
|
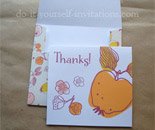
Baby Gift Thank You Cards |
||||
These cute photo baby gift thank you cards are sure to bring a smile anyone's face! To make them I used some cute baby photos along with some paper crafting supplies I had on hand.
To make them yourself you should have some baby pictures taken by digital camera so that you can crop and print them from your home computer.
You'll also need a photo editing software installed on your computer. If you do not have one currently installed then I can show you where to get one for free!
Now if you're ready to get started....
Baby Gift Thank You Cards Supply List:

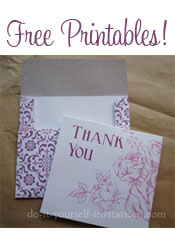
- cardstock or blank printable cards
- construction or colored paper
- paper punches
Step One: Homemade or Blank Cards
The first decision you will need to make is whether to use blank cards or make your own with some colored cardstock. Making them yourself is fairly easy and cheap, but these days blank cards come in neat little packs of assorted colors and patterns, all with matching envelopes.
If you want to print a message to the front or inside of the card, then making the cards from scratch is easy using one of our free printable invitation templates.
Simply personalize the template and print it onto some 8.5 by 11 inch cardstock. Cut the paper in half and the score and fold it.
Step Two: Baby Photos...Er... Baby Heads?
To get the neat little baby head photos for the flowers on the front of the cards, I first opened a couple of my favorite baby pictures in Photoshop. If you do not have photoshop then using Pain.net or Pixlr will suffice.
Open the software and open a new document with your picture. Use the eraser or the pen tool to crop the picture down to the head only.
Copy and paste the picture several times onto a 8.5 by 11 inch document and print them out.
Use a pair of scissors or cutting knife to trim the heads out from the paper.
Step Three: Creating Baby Flowers
To create the flowers you could use a large flower punch, or a scallop circle punch. I used a large heart shaped punch and then arranged the heart shapes like petals on a flower.
I cut green paper into thin strips to create flower stems. punching tear drops, leaves, or even heart shapes cut in half will work fine for creating leaves for the flower stems.
You'll also need some grass or small flower pot shapes. Cut them by hand or buy ready made embellishments for scrapbooking.
Glue the flower stems to the front of the card spaced apart and at different lengths. Attach paper punch flowers to the end of the stems. Glue the baby head photos right to the middle of the flowers.
Finish by glueing on the leaves and then finally the grass at the bottom of the cards (or flower pots if you prefer.
More tips for making baby gift thank you cards
* Instead of grass add some handmade little flower pots. You could make them out of construction paper or even use a decorative patterned paper.
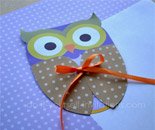
* Add a little extra decoration to the baby gift thank you cards by adding a little ribbon. attach some ribbon and a bow across the top of the card. Or even attach little bows to the flower stems to make them look like they are tied on. If you decide to create little flower pots add bows to the flower pots!
Do It Yourself Invitations Homepage > DIY Thank You Cards > Unique Baby Gift Thank You Cards
The DIYI Ezine


Printable Invitations | Bridal Shower | Blog | Contact | Advertising Policy | Privacy Policy
By Chris Fleckenstein, Copyright © 2006-2013 Do-it-yourself-invitations.com