|
|
|||||||||||
Make Your Own Adult Birthday InvitationsLooking for some cute and unique ideas to make your own adult birthday invitations? Making your own invitations can be really fun and special. With some helpful tips and a little inspiration it can be a lot easier than you would think. Here are a few tips for making handmade invitations for an adult party.
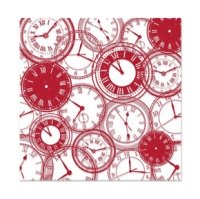
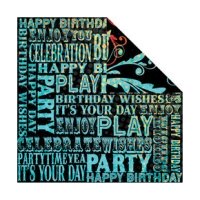
Super Easy Crafty InvitationsIt can be really easy to match a party theme if you've got the right paper! These days you can find an abundance of decorative paper, many adorned wih specific themes and patterns. As If having the perfect theme paper available isn't good enough, most papers also have coordinating patterned papers to match them with, as well. If you intend to layer papers or get a littl creative with your invitations, this can makes things super convenient and open all kinds of possibilities for creative ideas!A really cute and EASY handmade invitation? Just visit the cardmaking section of the arts and crafts store and pick up a pack of blank cards. Cover the outside of the card with your theme paper. Make sure and think up with some really great, really special, invitation wording, maybe a little ribbon, and viola! You've got yourself a super easy and crafty handmade invitation! You can even use wrapping paper!
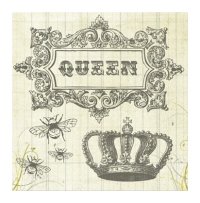
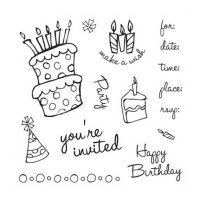
Make Em' With Rubber StampsI LOVE using rubber stamps for so many crafty projects. But my most favorite is in making handmade invitations and cards. There is a myriad of great images out there to be used for making invitations, and a great deal of them happen to be mounted on little wooden blocks! :-)In all seriousness, it is one of the greatest ways to come up with a great looking custom theme invitation. You can customize and decorate however you want. Add some decorative paper to jazz it up a bit, or go with a very simple and clean layout. Use colored stamping inks, embossing inks and powders, or even simply color in the images using some really good markers. I even go as far as using glitter and flocking with my stamped images! Whatever adult birthday invitations themes you can think up, there is some way to make a great diy invitation using rubber stamps!
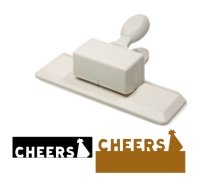
Get creative With Paper PunchesPaper punches are so easy to use. You can use them to punch birthday and party themed shapes, or use them to create great decoratively cut edges on your adult birthday invitations.
|
The DIYI Ezine
Stay up to date with the newest tutorials, free printables and giveaways!
You Might Like...


|
|||||||||||
|
|
||||||||||||
|
| Homepage | Shop | Wedding Invitations | Birthday Invitations | Baby Shower Invitations | Printable Invitations | Bridal Shower | Blog | Contact | Advertising Policy | Privacy Policy
By Chris Fleckenstein, Copyright © 2006-2013 Do-it-yourself-invitations.com |
||||||||||||