|
|
|||||||
|
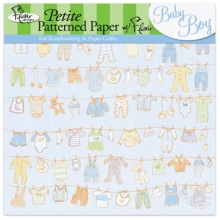
Make Baby Boy Shower Invitations!Tips For Making Baby Boy Shower InvitationsMaking handmade baby shower inivtations is great if you are looking to save some money and still have fabulous invitations, or simply want to have baby shower details that are personal and stylish. Personally, I like to make as many DIY creations for parties and get togethers as possible. It just seems so much more special when there are so many handmade details. Invitations, and favors, and such. :-)Pretty much any of the invitation ideas and tutorials found here on Do-it-yourself-invitations.com can be made into boy themed shower invitations. All one must do is switch the papers to blue or green colored, baby boy themed papers. Seek out items such as rubber stamps, paper punches, and cardstock that all have a theme or color scheme to match your baby shower.
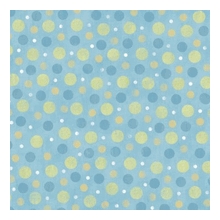
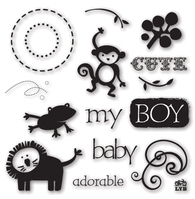
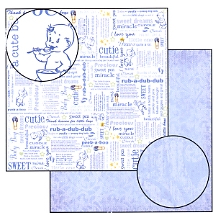
Baby Boy Themes Craft Inspiration...
Baby Boy Shower Theme Ideas
Got a unique baby showet theme idea? Or a product you used for baby shower crafts that you absolutely loved? Make sure and contact us and tell us all about it!!
|
The DIYI Ezine
Stay up to date with the newest tutorials, free printables and giveaways!
|
|||||||
|
|
||||||||
|
| Homepage | Shop | Wedding Invitations | Birthday Invitations | Baby Shower Invitations | Printable Invitations | Bridal Shower | Blog | Contact | Advertising Policy | Privacy Policy
By Chris Fleckenstein, Copyright © 2006-2013 Do-it-yourself-invitations.com |
||||||||